Five Easy Steps to Change Your Vehicle Tires
Changing a tire is a fundamental skill every driver should possess. It ensures you’re not stranded during an unexpected flat tire situation. Here’s a simple guide to help you change your vehicle tires safely and efficiently.
Step 1: Prepare and Position the Vehicle
1. **Find a Safe Location:**
– Pull over to a safe, flat location away from traffic.
– Turn on your hazard lights to alert other drivers.
– Apply the parking brake to prevent the vehicle from moving.
2. **Gather Your Tools:**
– Jack
– Lug wrench
– Spare tire
– Wheel wedges (if available)
– Vehicle owner’s manual
3. **Secure the Vehicle:**
– Place wheel wedges in front of or behind the tires to ensure the car doesn’t roll.
– If you’re changing a rear tire, place the wedges in front of the front tires. If you’re changing a front tire, place the wedges behind the rear tires.
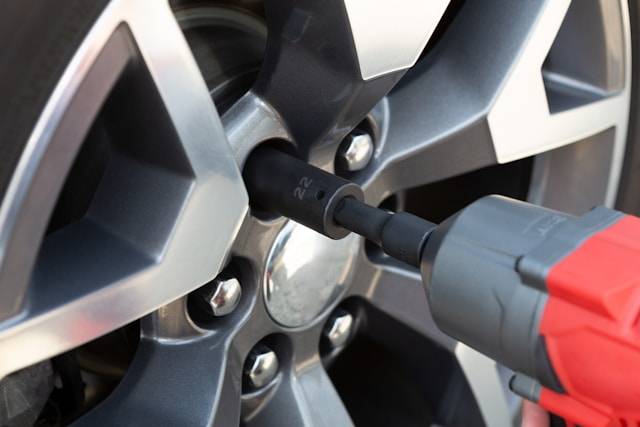
Step 2: Loosen the Lug Nuts
1. **Remove the Hubcap:**
– If your vehicle has a hubcap covering the lug nuts, use the flat end of your lug wrench to pry it off.
2. **Loosen the Lug Nuts:**
– Use the lug wrench to turn the lug nuts counterclockwise until they are loose but not completely removed.
– You may need to use some force, so stand on the wrench handle if necessary to get the nuts moving.
Step 3: Lift the Vehicle
1. **Position the Jack:**
– Place the jack under the vehicle frame next to the tire you’re changing. Consult your owner’s manual for the correct jack placement.
2. **Lift the Vehicle:**
– Turn the jack handle clockwise to raise the vehicle until the tire is about six inches off the ground. Ensure the vehicle is stable and supported by the jack.
Step 4: Remove the Flat Tire and Mount the Spare
1. **Remove the Lug Nuts:**
– Fully unscrew the lug nuts and keep them in a safe place.
2. **Remove the Flat Tire:**
– Pull the flat tire straight off the wheelbase and set it aside.
3. **Mount the Spare Tire:**
– Align the holes in the spare tire with the lug nut posts and push it onto the wheelbase.
4. **Tighten the Lug Nuts:**
– Put the lug nuts back on and tighten them by hand as much as possible.
Step 5: Lower the Vehicle and Tighten the Lug Nuts
1. **Lower the Vehicle:**
– Use the jack to carefully lower the vehicle until the spare tire is just touching the ground but not bearing the full weight of the vehicle.
2. **Tighten the Lug Nuts:**
– Use the lug wrench to tighten the lug nuts in a star pattern. Tighten each nut a little at a time to ensure even pressure on the wheel.
3. **Fully Lower the Vehicle:**
– Once the lug nuts are tight, lower the vehicle completely to the ground and remove the jack.
4. **Double-Check the Lug Nuts:**
– Once the vehicle is fully on the ground, use the lug wrench to ensure all lug nuts are as tight as possible.
Final Tips
– **Check the Spare Tire Pressure:** Make sure the spare tire is properly inflated. Use a tire gauge if available.
– **Replace or Repair the Flat Tire:** Visit a mechanic or tire shop as soon as possible to repair or replace the damaged tire.
– **Regular Maintenance:** Regularly check the condition and pressure of all your tires, including the spare, to avoid unexpected flats.
By following these simple steps, you can safely change a tire and get back on the road quickly. Always refer to your vehicle’s owner manual for any specific instructions or precautions related to your car.